Imagine the scene, you have visitors round to your workplace, and you are all enjoying a refreshing glass of water before the meetings begin. The meetings go well, and everyone goes home happy.
The next day, the visitors all wake up with a dodgy stomach, and it turns out it was caused by some questionable water. Now, instead of a great company to work with, you are known for your dodgy drinking water, not what you wanted.
OK, maybe that is a bit farfetched, but you can see the point we’re making here. Making sure your drinking water is fit for consumption is important when you use a storage tank.
We’ve put together a short guide on how to clean your water storage tank and why you need to do it.
Importance of cleaning your water tank
If you use a water tank as your main supply of water, it is imperative to keep the tank clean. There are several reasons you need to do this, but the main reason is because of the effect it can have on your health if your water tank isn’t clean. An unclean water tank can be a breeding ground for bacteria that can cause water-borne diseases such as diarrhoea. It can also lead to airborne diseases. As bacteria builds up, it can be spread by water droplets in the air that can cause diseases such as legionnaires disease.
You also need to consider that the more you maintain and clean your tank, the less likely it is you will need to pay big bills to fix it. Regularly maintaining your tank will help to keep maintenance costs low, saving you money in the long run.
Using the right materials and equipment
You need to ensure that you use the right materials when you come to clean your tank.
The materials you use depend on the accessibility of your tank, as some bits of equipment might not be able to get into the tank.
To start, you need to gather the cleaning materials that you will use:
- Hot water
- Antibacterial spray or liquid bleach
- Detergent
- Stiff brush to scrub the dirt off the inside of the tank
- High-pressure jet washer to remove dirt that elbow grease won’t
- Water hose to wash down dirt residue
These will all be used when it comes to cleaning your tank to make sure it is all ready to be used again.
When it comes to cleaning the tank, you will need some tools to get to all the hard-to-reach spots and make sure all stubborn dirt is removed.
Step-by-step guide
Now you have all the right equipment, it is time to start the cleaning.
To make things nice and easy for you, we have put together a step-by-step guide for how you need to clean your tank.
- Drain your water tank – Open the outlet valve or tap and drain out any remaining liquid by connecting a water hose to the open valve and feeding your hose to the garden (or elsewhere) if possible. This will avoid any wastage of the water left in the tank as it can be used for applications such as cleaning your windows or washing the car. The tank should be emptied as much as possible until the water stops flowing out of the hose.
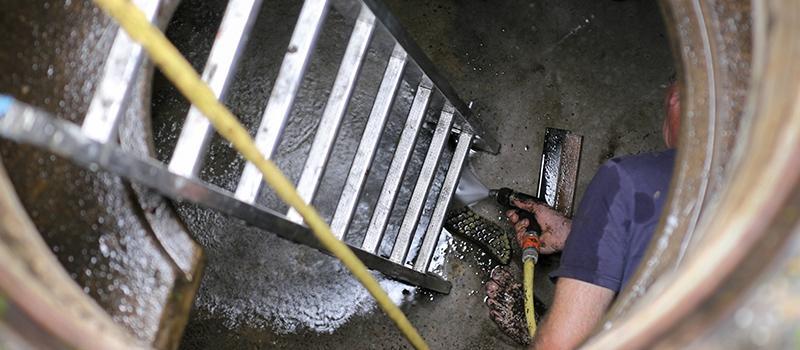
- Clean the inside of your water tank – This task can be carried out using a stiff brush, high-pressure jet or water hose. You can scrub the areas you can reach from the opening, or use the jet washer or hose to rinse the inside. Please DON’T enter your tank at any point. You can hire a professional company to come and clean the inside of your tank safely.
- Wash & rinse your water tank – Rinse the tank with clean water. This task is best carried out with a high-pressure hose pipe or water jet. Keep doing this until the water coming out of the outlet runs clear. If this equipment is not available to you, then fill the tank with water (preferably hot) and leave it to stand for a few hours. Drain all the water from the tank and collect for safe disposal as before.
- Safely empty the tank and leave to dry – Completely empty the tank and carefully dispose of the disinfectant water. Fill the tank with fresh water, allow it to stand for 30 minutes, and then flush the entire system again. Make sure you replace the lid properly to prevent any debris from falling into your clean tank and leave the tank for drying. After the tank is dry, it is ready for use.
- Chlorination – Once a year, you should hire a professional company to carry out the chlorination of your tank. It must be supervised, and no one is able to use taps or flush toilets while this is taking place.
We hope this has given you the inspiration you need to clean your water storage tank before bacteria or algae take over. Please remember to clean the tank safely, and always hire a professional company to clean the inside of your tank.
If you’d like to find out more about the water storage tanks we have available, please contact our sales team on 01777 858009 or email sales@kingfisherdirect.co.uk.
